
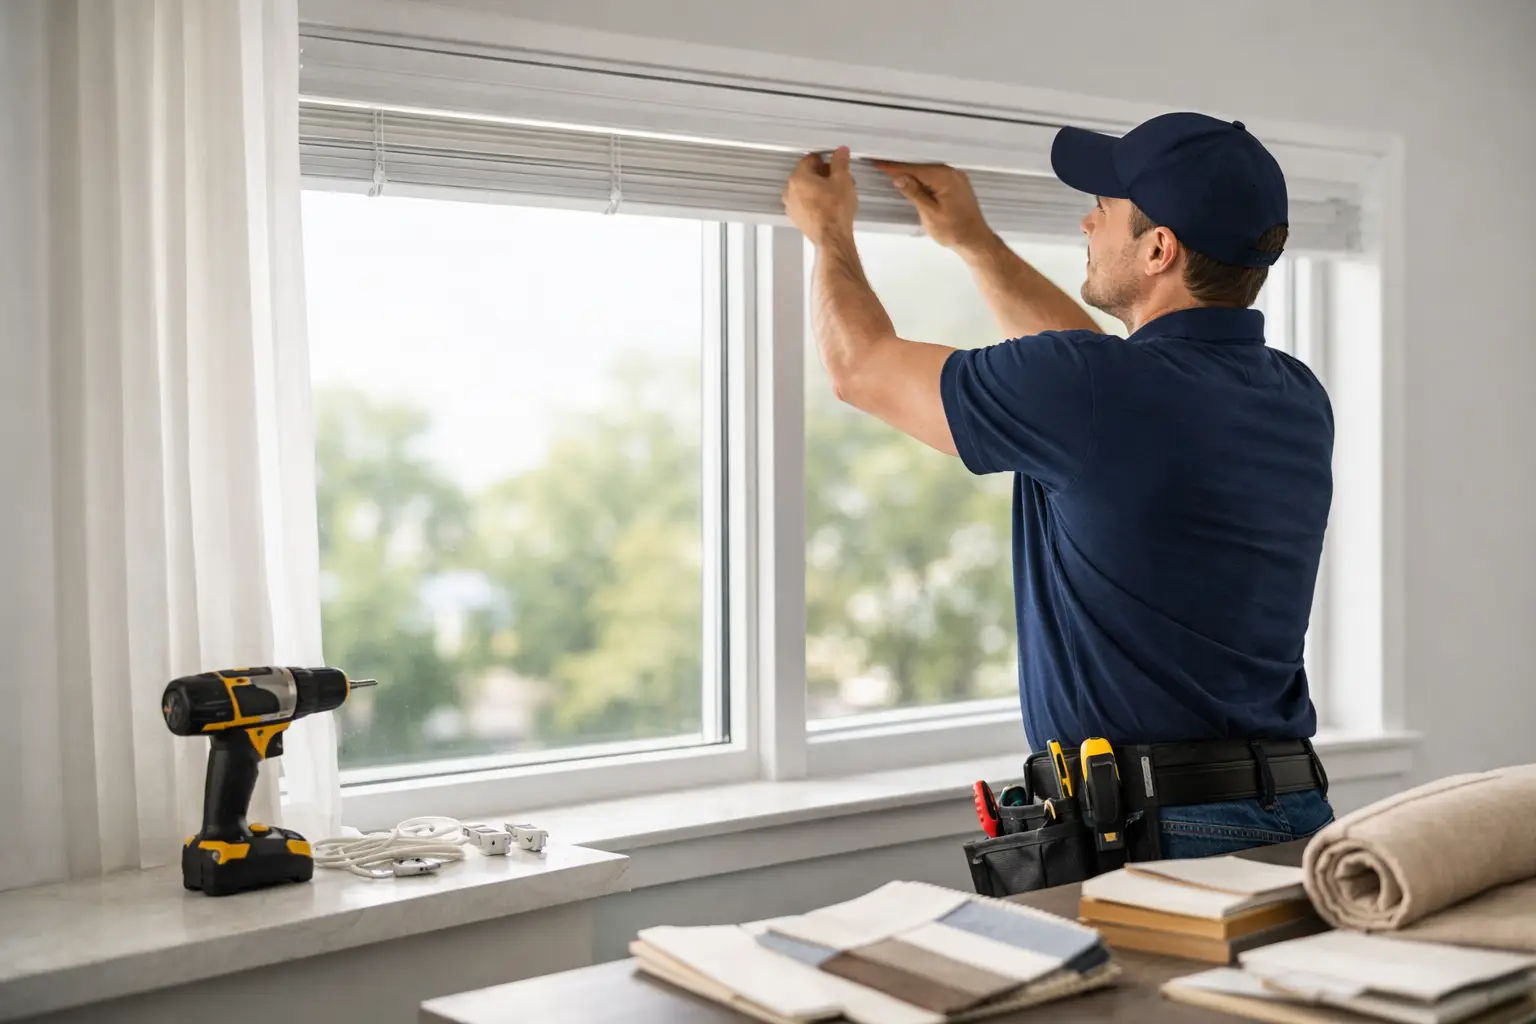
You can spot a poorly installed window treatment in seconds. The hem sits unevenly, light leaks in where it should not, or the hardware feels slightly off against an otherwise beautiful room. A strong window treatment installation process guide helps you avoid those details before they become expensive frustrations, especially when you are investing in custom shades, blinds, drapery, or motorized solutions meant to elevate your home.
The installation stage is where design turns into function. Fabric, texture, finish, and control style all matter, but the final result depends on precise measuring, thoughtful mounting, and clean execution. For homeowners, that means the process is not just about attaching hardware to a wall. It is about making sure the treatment looks tailored, operates smoothly, and supports the way the room is actually used every day.
What the window treatment installation process guide should cover
A good installation process starts well before the first bracket goes up. The earliest decisions shape everything that follows, including whether the treatment sits inside the window frame or outside it, how much stack space is needed, and how the finished product will interact with trim, furniture placement, and natural light.
That is one reason custom projects tend to feel more polished than off-the-shelf options. The product is selected with the window, the room, and the homeowner's priorities in mind. Privacy in a primary bedroom calls for a different setup than filtered light in a breakfast nook. A media room has different needs than a formal dining room. Installation works best when those goals are clear from the start.
Step 1: In-home evaluation and measurement
The first step is a detailed review of the space. This includes measuring width and height, checking for depth inside the frame, identifying molding or trim limitations, and noting anything that could affect placement, such as window cranks, nearby cabinetry, or ceiling angles.
Precision matters here because custom treatments are built to fit the opening they are ordered for. A small measurement error can create gaps, crowd the trim, or keep a shade from operating correctly. In older homes especially, windows are not always perfectly square, so measurements often need to account for slight irregularities.
This stage is also where style and practicality meet. If you want the room to feel taller, outside mounting higher above the frame may be the better move. If you want a crisp, architectural look, an inside mount may be ideal, provided the frame depth allows it. Neither choice is universally better. It depends on the visual effect, the product type, and the window itself.
Step 2: Product selection with installation in mind
Homeowners often choose a treatment based on appearance first, which makes sense, but installation requirements should be part of the conversation early. Some fabrics hang best with generous return space. Some shades need enough clearance for a cassette or headrail. Motorized systems may require planning for power access, charging, or battery placement.
This is where professional guidance adds real value. A design that looks beautiful in a sample book still needs to work in the actual room. If a window sits behind a sofa, lift style becomes more than a design preference. If a treatment will be opened and closed several times a day, ease of operation matters as much as the finish.
For layered treatments, installation planning becomes even more important. Pairing drapery with shades can create a rich, finished look, but only when spacing, projection, and mounting heights are coordinated carefully. Without that planning, layered treatments can feel crowded instead of refined.
Step 3: Order verification and pre-install planning
Once the selections are finalized, measurements and specifications should be reviewed before the order moves forward. This checkpoint helps confirm mount type, control location, fabric orientation, hardware finish, and any motorization details.
It may sound administrative, but this is one of the most important parts of the process. Many installation issues are not true installation errors. They start earlier with an overlooked detail, such as ordering a shade with the wrong lift side or choosing drapery hardware that extends too far into a narrow room. Careful verification protects the final look and the homeowner's investment.
When motorized window treatments are involved, planning becomes more specific. Installers may need to confirm remote programming preferences, smart-home compatibility, or whether hardwired power has been prepared. These details are manageable, but they are best handled before installation day, not during it.
Step 4: Preparing the home for installation day
By the time installation day arrives, the process should feel organized. The room does not need to be empty, but windows should be accessible. Moving fragile decor, clearing furniture if possible, and making space near each treatment area helps the work move efficiently and protects your belongings.
For homeowners, this is usually a straightforward step, but timing matters if you are coordinating with painters, remodelers, or new furnishings. Window treatments are often one of the finishing layers in a room, which means they should be installed after messy construction work is done but before the space is fully styled. That sequence helps prevent damage and keeps the final reveal clean.
Step 5: Mounting and hardware installation
This is the point where craftsmanship becomes visible. Brackets must be level, secure, and positioned exactly according to the product specifications. Even a slight variance can affect how the treatment hangs or operates.
Inside mounts require especially careful alignment because everything is on display within the frame. Outside mounts need thoughtful placement to create balance around the window and reduce unwanted light gaps. With drapery, rod height and width can change the entire feel of the room. Hung correctly, panels can make the window look larger and the ceiling feel taller. Hung too low or too narrow, they can flatten the space.
Professional installers also account for the wall surface itself. Drywall, wood trim, masonry, and metal framing all require different fastening methods. A polished installation is not only about appearance. It needs to be secure enough for daily use over time.
Step 6: Treatment fitting, adjustment, and testing
After the hardware is in place, the treatment is installed and adjusted. Shades should raise and lower evenly. Blinds should tilt smoothly. Drapery should fall cleanly and stack properly. Motorized systems should respond correctly to controls and stop at the intended limits.
This step often includes small refinements that make a big difference, such as leveling a bottom rail, adjusting panel spacing, or fine-tuning a motor setting. These are the details that create the finished, custom look homeowners are paying for.
There can be trade-offs here too. A treatment that is mounted for maximum privacy may allow slightly less visible glass. A dramatic drapery height may require more fabric stack at the sides. Good installation balances those realities so the result feels intentional rather than compromised.
A window treatment installation process guide for motorization
Motorized window coverings deserve special attention because they combine design with technology. The installation itself may look clean and simple once complete, but a lot depends on planning, setup, and testing.
Battery-powered systems can be a smart choice for many homes because they reduce wiring demands and preserve a clean finish. Hardwired systems can be ideal in new construction or major renovations where power planning happens early. The best option depends on the scale of the project, the number of windows, and how integrated you want the controls to be.
Programming is part of installation, not an afterthought. Homeowners should know how to operate the treatment, recharge it if needed, and use any scenes or schedules that have been set up. A beautiful automated shade is only convenient if it feels intuitive from day one.
What homeowners should expect after installation
A well-run project does not end the moment the last bracket is tightened. You should expect a final walkthrough, an explanation of operation and care, and confirmation that each treatment functions as intended.
This is also the time to ask practical questions. How should the fabric be cleaned? How often do batteries need attention? What is normal settling for drapery panels after hanging? Clear answers help protect the look and longevity of the installation.
In a design-forward home, window treatments do more than cover glass. They soften a room, frame the architecture, improve comfort, and make the space feel complete. That is why the process matters just as much as the product.
For homeowners who want the result to feel tailored rather than improvised, a thoughtful installation experience is part of the value. When each step is handled with care, the room does not just look finished. It feels more livable, more polished, and more distinctly yours.
If you are planning new window treatments, pay attention to the process as closely as the style. The right installation approach is what turns a good selection into a room you enjoy every single day.